
You have a lot of data but don't know how to make an application that allows you to pull certain values from the data whenever you want. Well you're in the right place because XapiX has that functionality.
You'll need:
1. Data in a CSV file
XapiX provides:
1. An easy uploader and editor to turn your data into an API!
Here is a screenshare of how I executed the tutorial:
Let's start!
Make a project
Go to https://wizards.xapix.io/. Click "CSV Import" so we can import our data.
But before we upload our CSV, let's make it perfect:
1. Delete spaces / symbols / punctuation in file name
2. Delete empty rows in header column
3. Delete empty or unused columns between your first and last columns with data
4. Delete any additional data-containing cells
Now let's drag or upload our CSV file. This is my CSV file - I exported it from Google Sheets to a .csv.
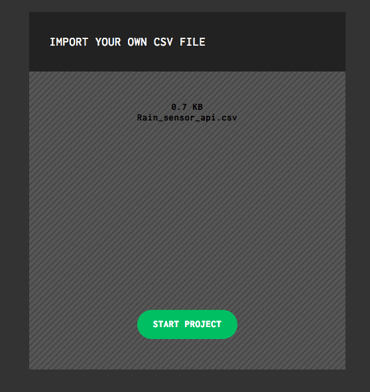
Click "Start Project".
You've made your own API!
Let's play around and see the components.
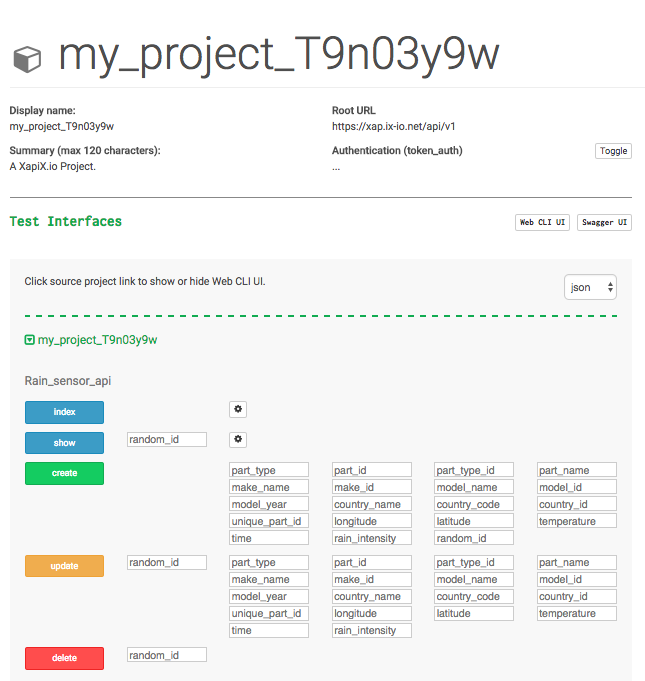
When I click "index" ('show all' in RESTful lingo), I see a sample API call based on the key/value pairs in your CSV. 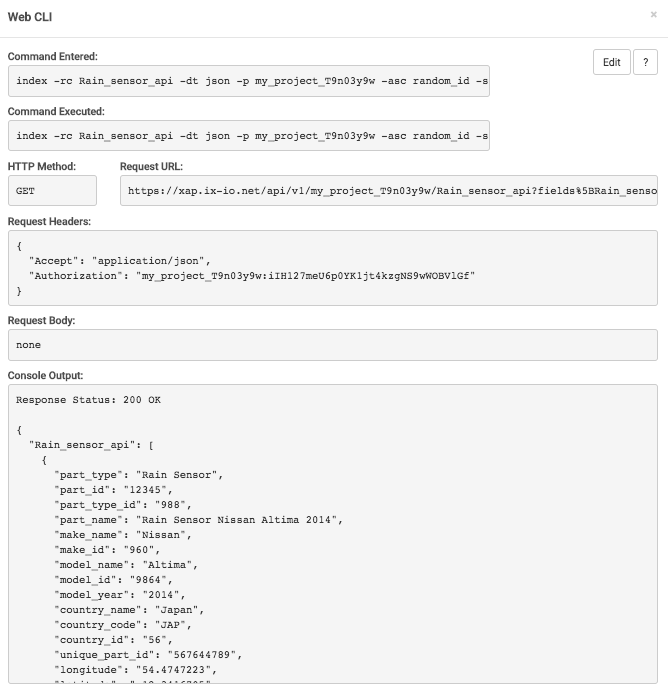
Rename project
XapiX automatically generates a project name, but let's make it memorable.
On the left pop up, you can see other projects, but at the top right next to "Delete", there's "Edit". 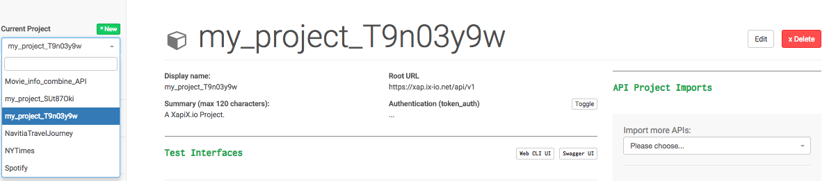
Click "Edit". Enter the preferred project name. Plan and Authorization level will stay the same for now. 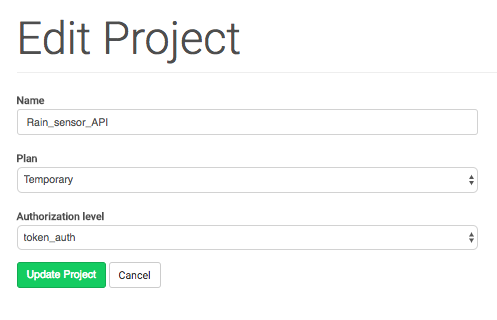
Click "Dashboard".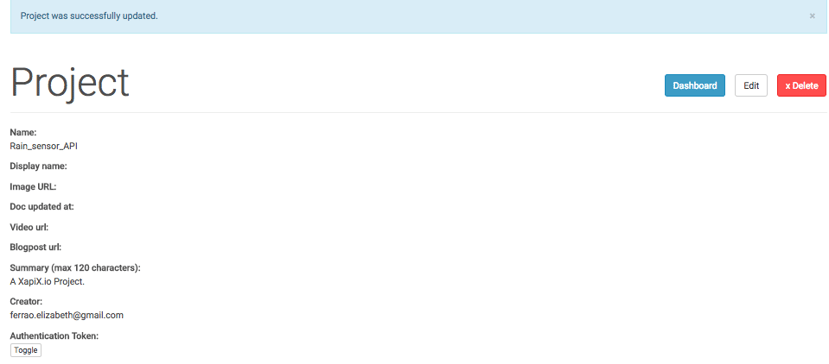
You've updated your project name. 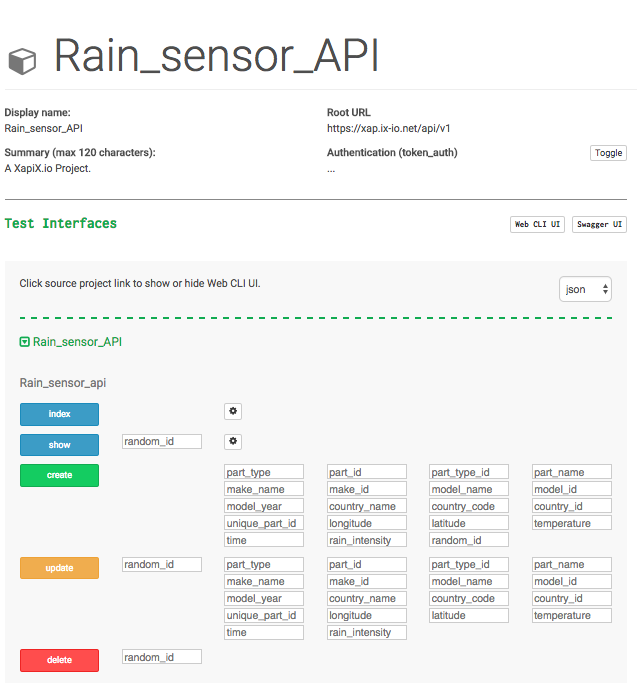
Swagger UI
Let's see our API operations. Click on 'Swagger UI' next to 'Web CLI UI'.

In "Test Interface", click "List Operations". Now we can see the call type next to what it's calling. 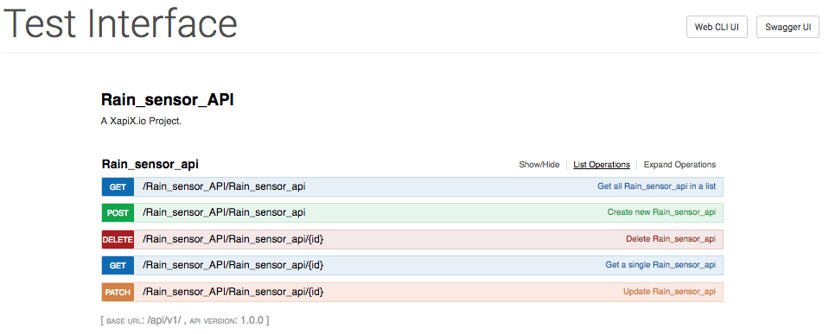
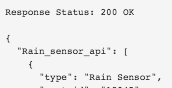
Click "Expand Operations". Now click the small gray "Try it out!" button under Response Messages. Something like this will appear. 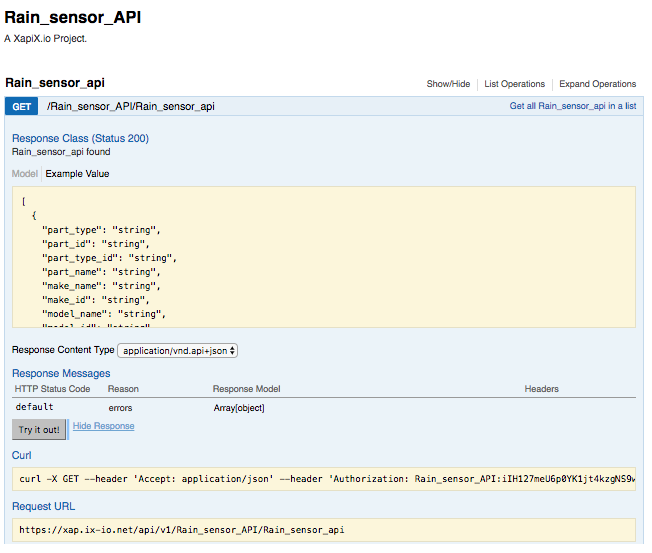
Now you understand the request types behind your API!
Calling our API
Let's call our API with our Root URL and Authentication (token_auth). In 'dashboard', click "Toggle". Your token will appear. 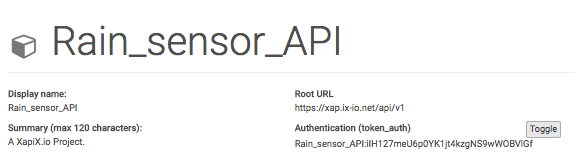
Now you can call your API!
Changing names
Let's change the name of our classes. Below is a video of how to do it: changing_csv_data.
Changing CSV data names
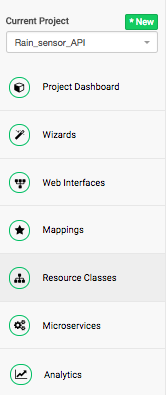
Navigate to Resource Classes:
Click the 'Resource Collection Name' - mine is Bosch_rain_sensor_api.
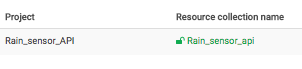
Click on the name to edit. Enter the new name and click 'Save' at the top right.
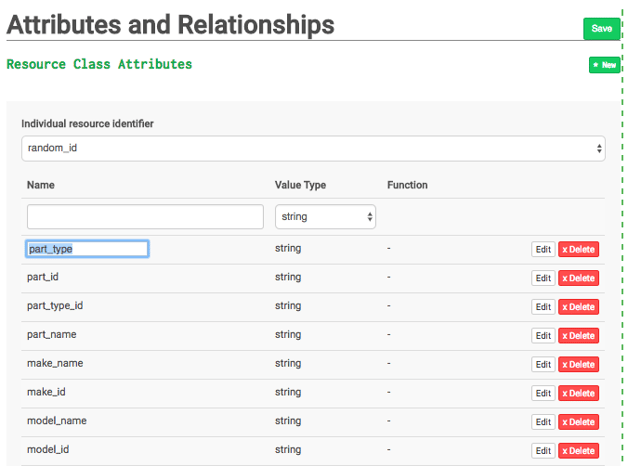
A top blue bar will pop up saying "Resources Class was successfully updated".
![]()
Click 'Publish'. Then click 'Migrate' to update the API.
Another blue bar will pop up: "Endpoint migrated". 
Head back to the project dashboard to test the API.
We can see the name has been updated in our requisite field.
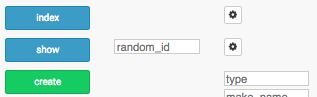
Click 'index' to see an API call.
Our API has been updated.
You can now update key names!
So we leave it to you.
What APIs will you make with XapiX? Let us know in a comment below.
Have fun building :)
